Enhancing Automotive Parts Inspection with Machine Vision
Matrix Design Integrates Teledyne DALSA’s Genie Nano Camera to Help Automotive Parts Manufacturer Ensure Product Quality and Increase Productivity
Automotive parts inspection is a crucial step in ensuring the safety of vehicles. With manufacturers seeking to realize the highest level of efficiency and precision in production, it is essential for an inspection system to be able to consistently deliver accurate results. This is what Matrix Design helps its customers achieve.
Headquartered in South Elgin, Illinois, Matrix Design works with its customers to develop, build, and install optimal and robust industrial automation systems. Often, these solutions pair turnkey automation with the latest vision technologies. By using automated inspection, manufacturers are able to realize improved efficiencies and greater precision in their production.
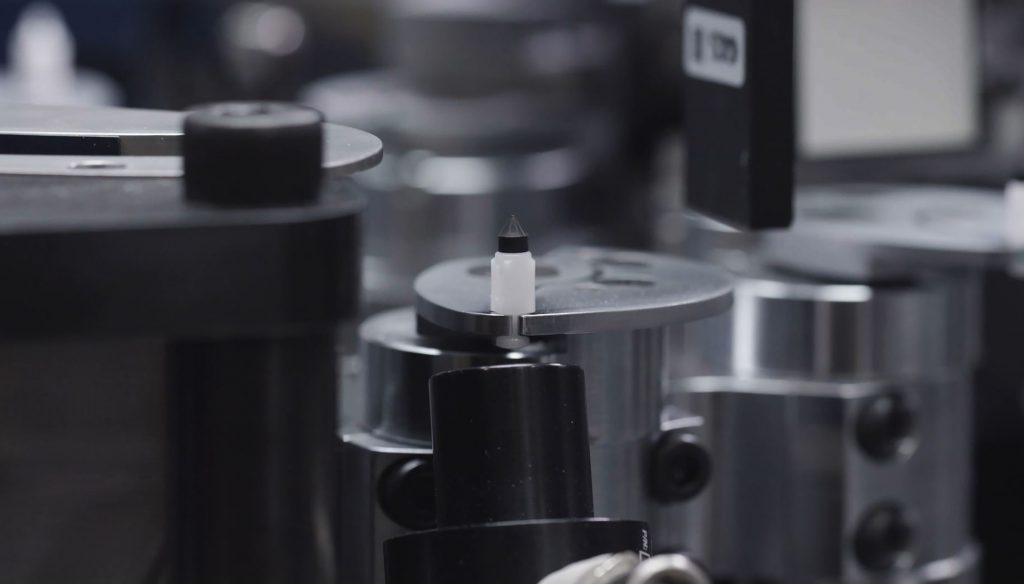
One of Matrix’ customers produces valve assemblies designed to regulate the flow of gasoline into the carburetor. The assembly consists of two parts: a valve body, which the manufacturer produces, and a specialized rubber tip designed to withstand contact with fuel, which is produced by a third party. This manufacturer approached Matrix to design an automated solution that would assemble the parts and then inspect them for accuracy. The customer’s existing production process used a manual gauge to take measurements during random inspections, which was especially challenging because each assembly is just slightly more than one-half inch in length. While the customer hadn’t experienced a high number of complaints about product quality, they wanted a more reliable, less time-consuming approach to quality control.

Integrating the perfect vision for valve inspection
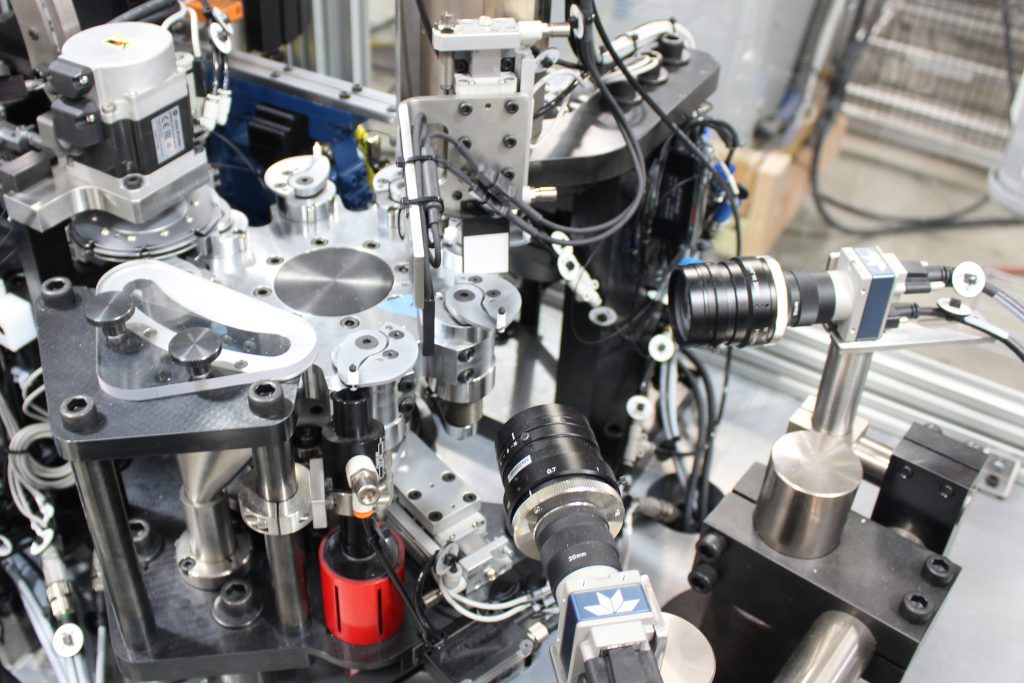
“Our goal was to design a comprehensive solution that seamlessly combines assembly with inspection. In the automated system we built, valve bodies move along a gravity track to a small, servo-driven dial, which feeds them onto a larger, eight-station main dial. On this dial, each valve body is held in place by a set of cam-operated jaws,” explains Pascal Agneray, Matrix’ mechanical engineer who conceptualized the solution. “The rubber tips move in a similar manner to a second servo-driven, singulating mechanism that grabs each tip then pushes and rotates it onto the top of the valve body. The main dial operates in a fast indexing motion via a reducer/servo set-up, so once each valve body and rubber tip is assembled, it moves in view of two cameras, which capture images of the assembly to be analyzed for height, alignment, concentricity, and runout. The entire cycle takes just 1.5 seconds with tens of thousands of parts assembled and inspected each day.”
Statistical inspection data is sent through an interface to the PLC. After the main dial rotates past the cameras, assembled parts that pass inspection are sent down a chute to a waiting container. Any parts that don’t meet customer standards are ejected through a vacuum and discarded.
“We chose Teledyne DALSA’s Genie Nano camera because it provides the high frame rates and resolution needed for this application,” Agneray continues. “With a tight tolerance of .08 mm, we wanted high resolution and superior image quality to ensure the greatest possible accuracy, and the Genie Nano delivered 9 megapixels of resolution, far better than the 3 megapixels offered by a competitive solution.”

Achieving quality and efficiency with machine vision
Of course, imaging software is essential to the inspection. Easy to configure, with scripting functions, Teledyne DALSA’s iNspect Express software ensures images are evaluated quickly. “This was our first experience with the iNspect solution” explains Kameron Zulfic, the Matrix Design application engineer who developed the controls and programming for the project. “The entire vision solution was easy to configure and deploy. We were able to use the standard tools within iNspect to get the data we needed from the start and then used the software’s scripting function to customize. Providing our customer with a solution that was user-friendly and intuitive to operate was important; we wanted to ensure that the software was easy for the customer to navigate once installation was complete.” iNspect Express software delivers the performance and versatility needed to meet a range of manufacturing requirements, in all types of environments. Plus, the software’s advanced features ensure precise measurements—such as those required by this application—in addition to robotic guidance, flaw detection, identification (1D/2D/OCR), color verification, and more.
“The complete solution has been deployed at the customer’s site for several months, and our customer has been very satisfied with assembly and inspection quality,” Agneray concludes. “In fact, the customer is now considering enhancing the current design with an additional camera system to inspect each valve assembly from above using a specialized lens. Their goal is to identify possible flaws in the rubber tip that are difficult to detect in images captured from the sides.”


